Store Closed June 2 – Rock n Roll Marathon
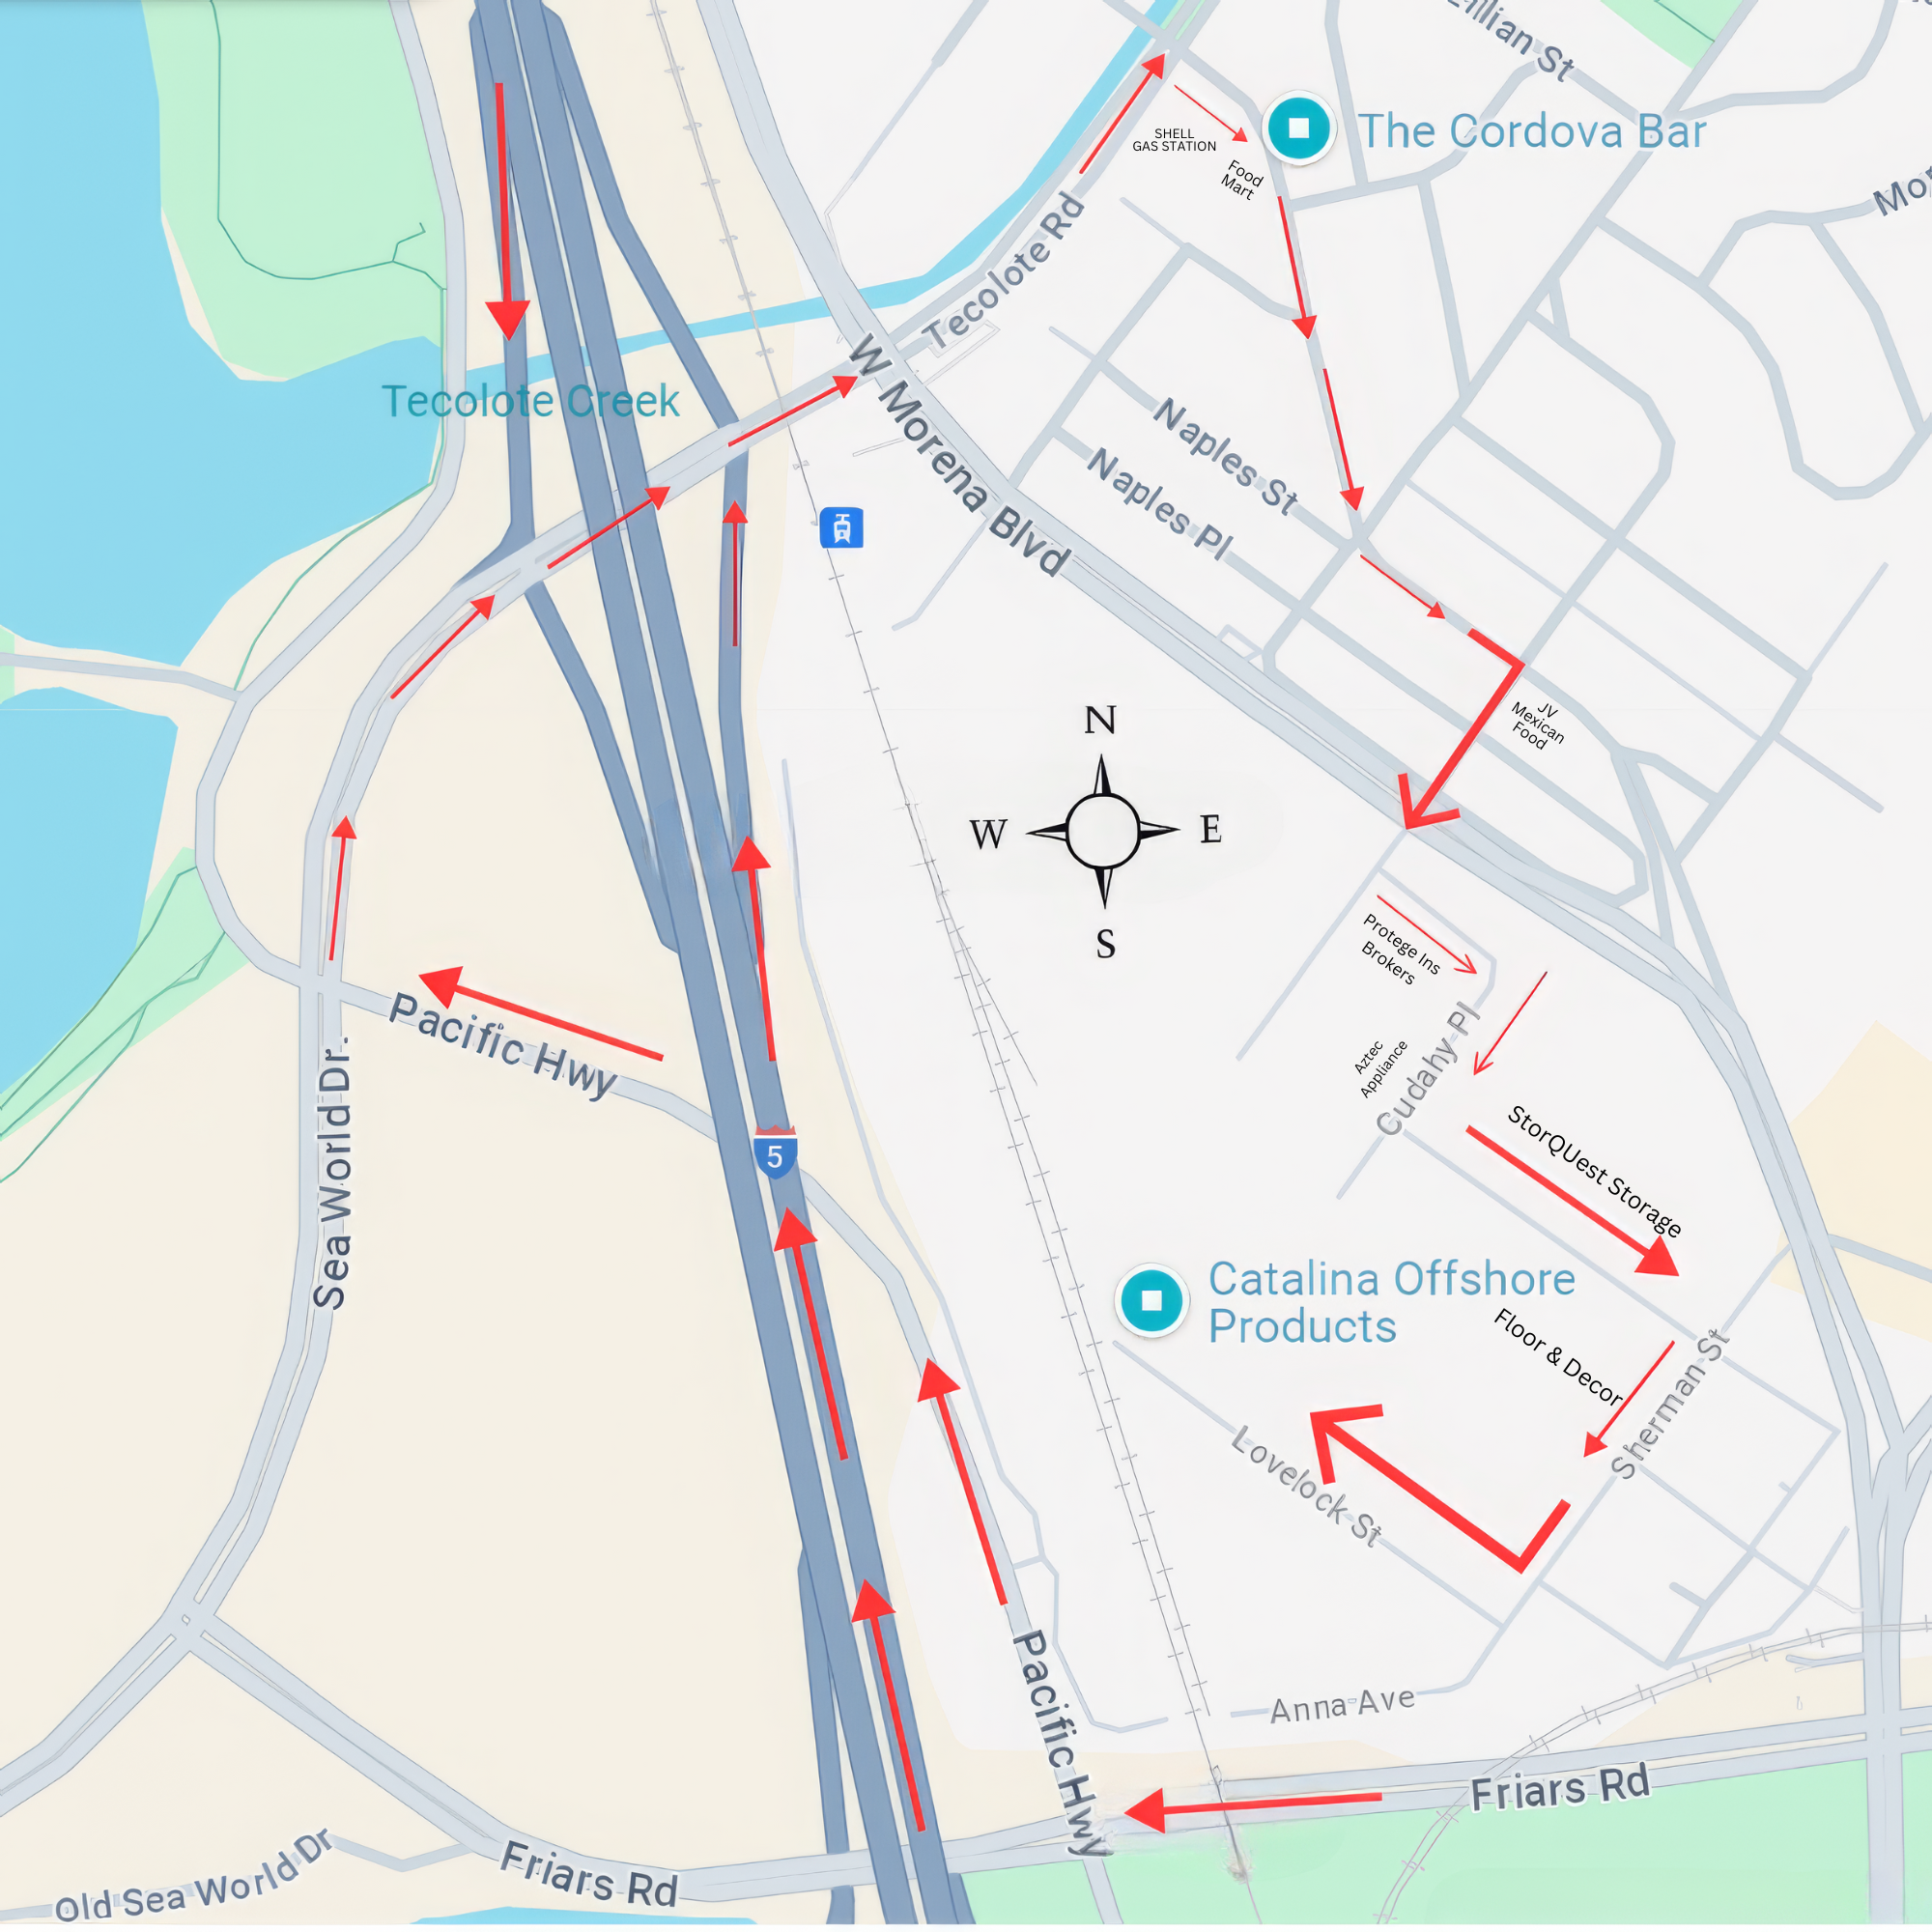
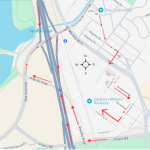
Catalina Offshore Products Inc will have its main entrance to our facility blocked off for construction. During this time we will have a detour to enter our facility from a slight detour.
By Rebecca Gardon
 Buying a whole fish is a great way to practice sustainability. Not only do you get two fillets, you can cook up the collar and the ribs, and use the carcass for fish stock like you would a whole chicken. In most cases, a whole fish is also a better value than pre-cut fillets, particularly when it comes scaled and gutted as ours do.
Many people will avoid buying a whole fish because they don’t know how to break it down into manageable parts. (Of course, you can always bake, grill or fry it whole and eat it off the bone, but that’s another post!) Filleting a whole fish is far easier than you may think. Get yourself a sturdy fillet knife, and practice the steps provided below. Once you get the hang of it, the process should only take three to five minutes. To watch our fishmonger Tommy put these same steps into action, check out THIS VIDEO.
Step 1. Place your fish side down on a stable cutting board. Looking at its head, note the line in front of its pectoral fin that runs up and down. Now lift up the pectoral fin and place your knife behind it, parallel to the line in front of it. Make your cut in the same direction, starting from the top of the line to the bottom. While cutting toward you, simultaneously bear down on your knife lightly until you hit the fish bone. That is as deep as your cut should go.
Step 2. Starting from the top of the cut you just made, run your knife along the top of the fish next to the centerline, stopping short of its tail. It helps here to lift and separate the flesh with the thumb of your non-knife hand as you cut, taking care to follow the bones with your knife tip down to the spine.
Step 3. At the tail end of this cut, make another cut across the width of the fish as you did near the head.
Step 4. Insert your knife into underside of the fish, starting from the bottom of the cut near the head and running it along the length of the fish to the tail end as you did for the top cut.
Step 5. You have now carved the shape of the fillet and are ready to remove it. Starting at the tail end of the fish and holding onto the tail with a firm grip, slide your knife under the meat and work it back and forth down the length of the fish until you reach the head. It should come off in one big piece, but you may need to revisit your previous cuts and recut any still-attached meat. It is helpful to lift the tail end of the fillet off your cutting board to give you some leverage as you cut towards the head.
Step 6. Repeat steps 1-5 on the other side of the fish.
Step 7. You now have two fillets. Before you can work with them you need to remove the ribs from each. Do this by placing a fillet skin side down with the ribs pointing away from you. Place your knife at an angle above them and slice down along the direction of the ribs. Trim off anything left behind.
Step 8. At this point you can remove the skin from your fillets or not. To remove, place your fillet skin side down, hold it at the tail end, slide your knife under the meat, and shimmy it down the length of the fillet. You may need to wiggle the skin back and forth until it all it comes off. Tip: make a little hole in the tail end of the skin, in which to “hook” your finger to give yourself an even better grip.
Step 9. Some fish have a dark-colored bloodline in their fillet that some people prefer not to eat due to its stronger flavor. To maintain the presentation and size of a single fillet, cook it with the bloodline intact and then eat around it. Or, to remove the bloodline prior to cooking, simply run your knife along each side of it and lift it from the center of the fillet. However doing this will create smaller portions.
Catalina Offshore Products Inc will have its main entrance to our facility blocked off for construction. During this time we will have a detour to enter our facility from a slight detour.
Catalina Offshore Products Inc will have its main entrance to our facility blocked off for construction. During this time we will have a detour to enter our facility from a slight detour.
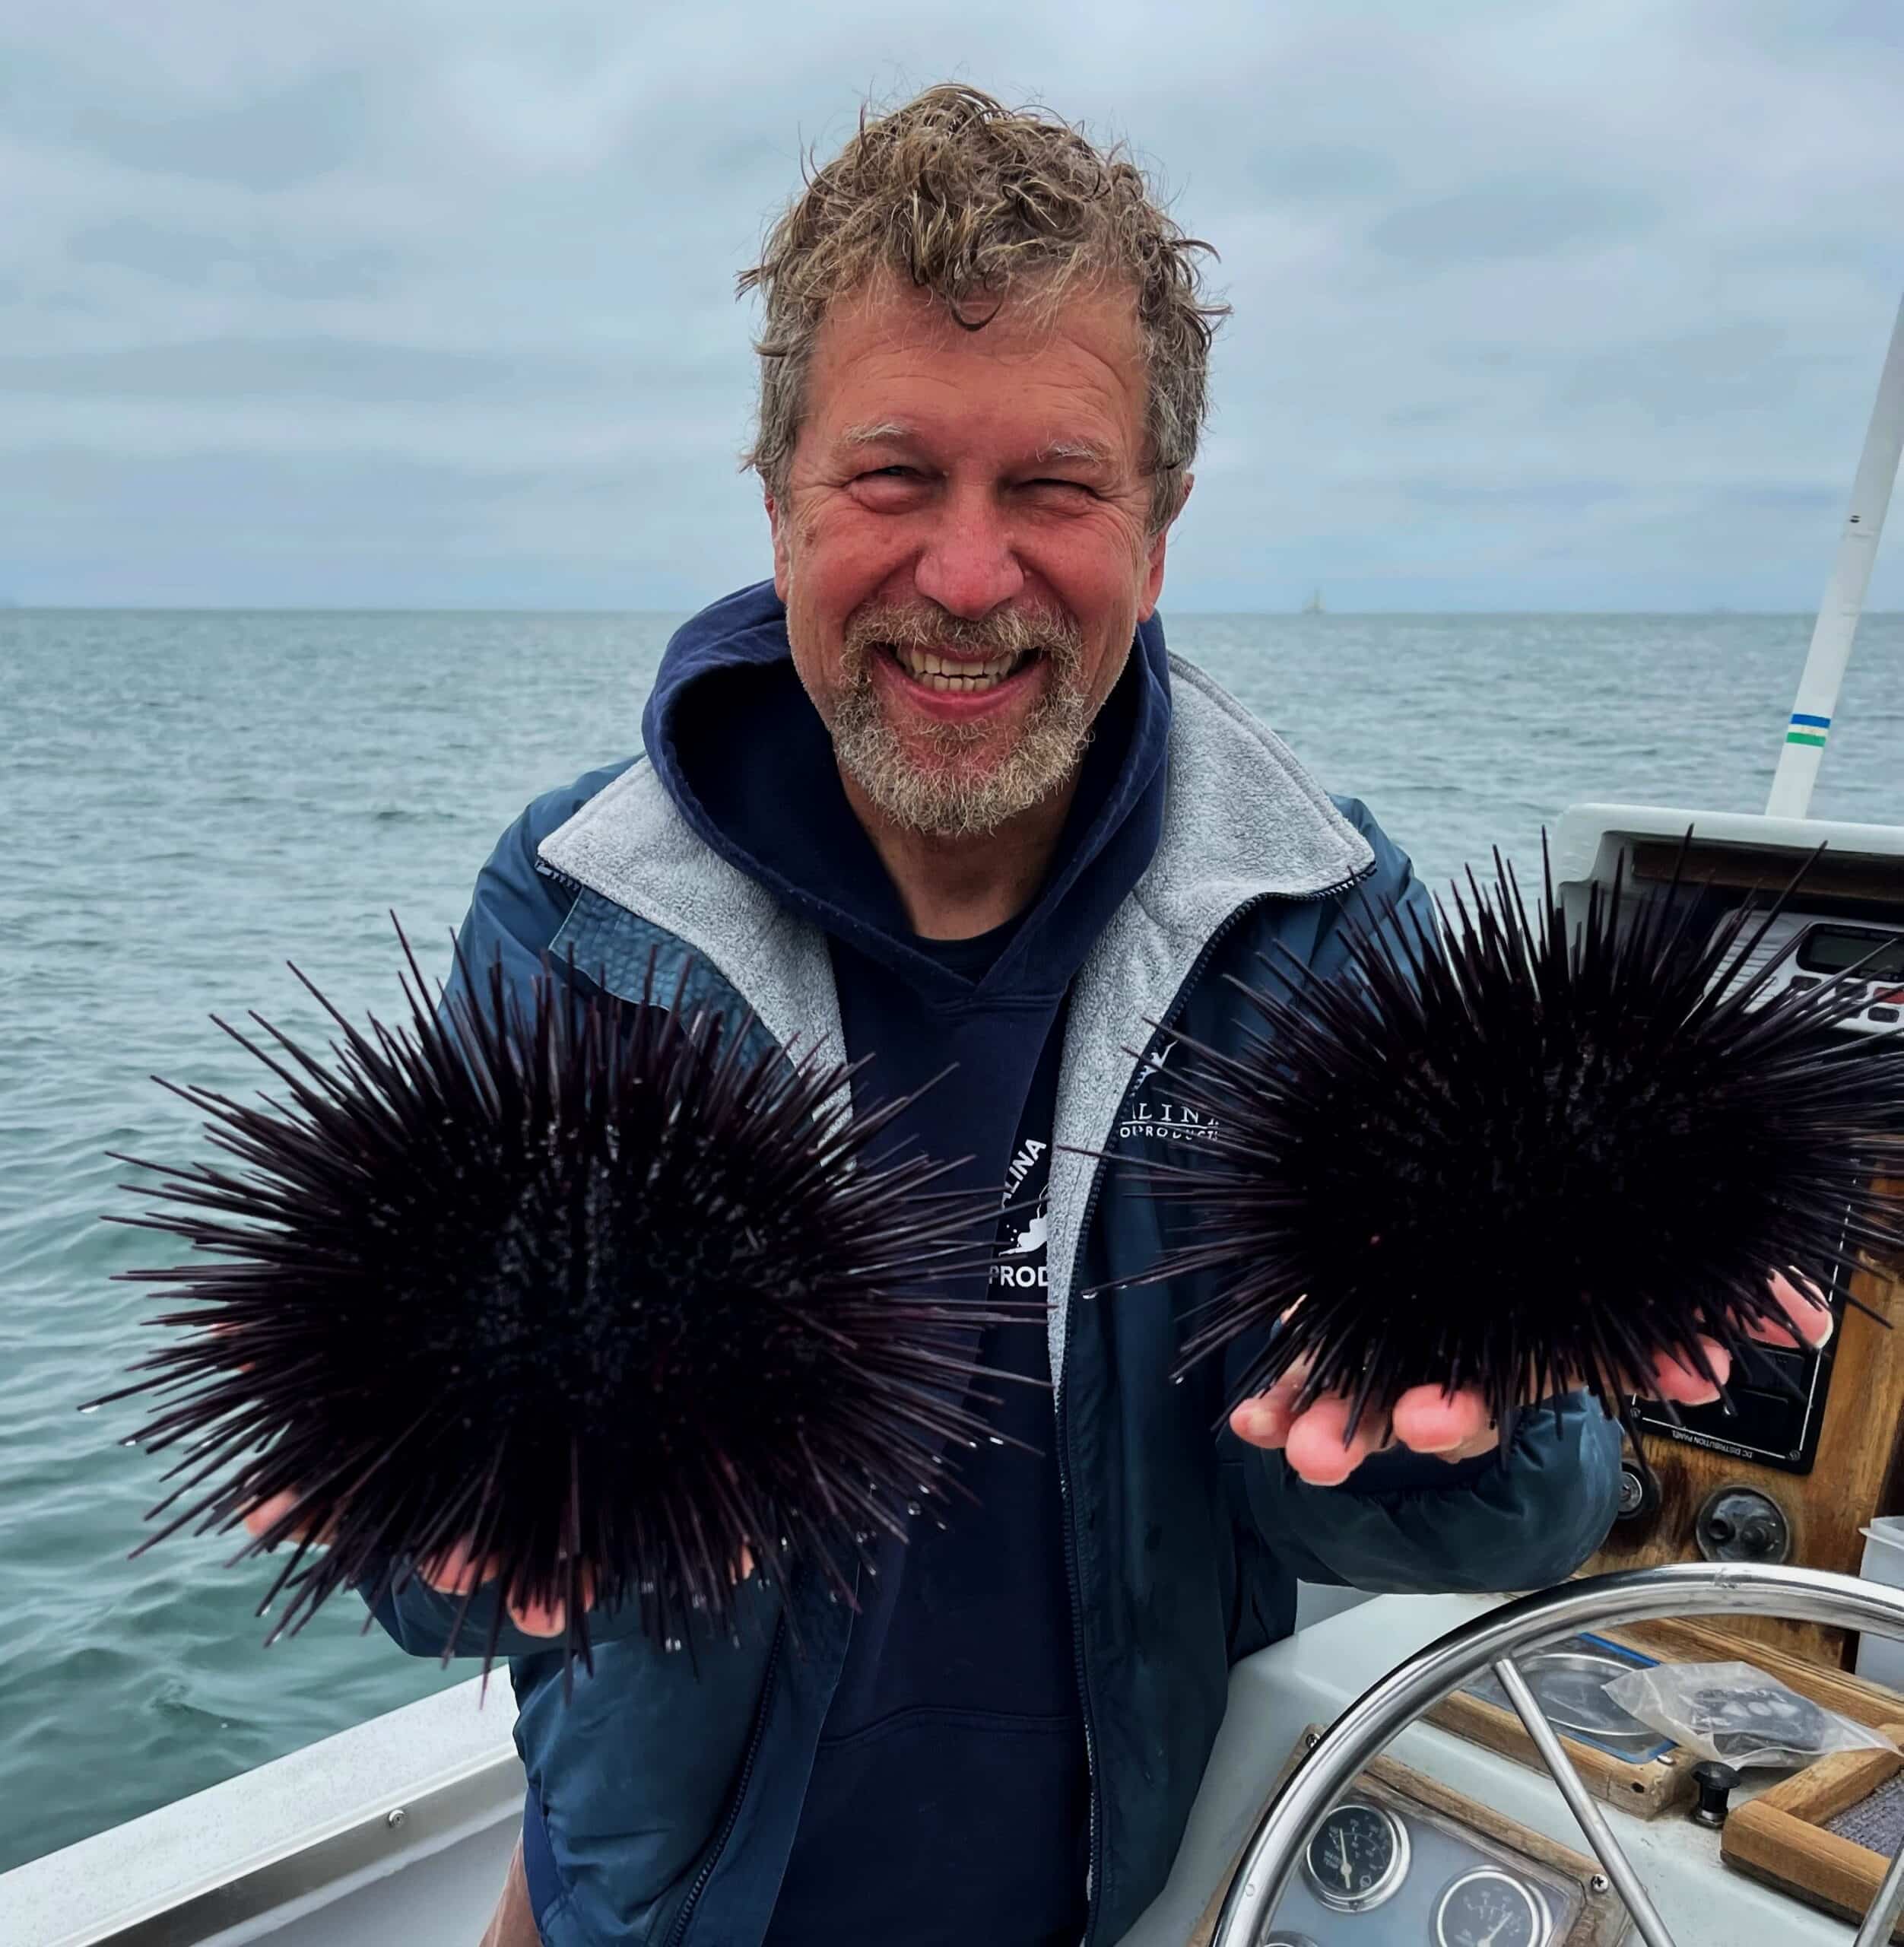
Catalina Offshore Products Inc announces sale to Beish Holdings Inc., DBA Catalina Offshore Products, as founder Dave Rudie sets sail for retirement after 46 years.
Store Closed June 2 – Rock n Roll Marathon
Catalina Offshore Products Inc will have its main entrance to our facility blocked off for construction. During this time we will have a detour to enter our facility from a slight detour.
Road Closures and Detours for March 15 – March 18
Catalina Offshore Products Inc will have its main entrance to our facility blocked off for construction. During this time we will have a detour to enter our facility from a slight detour.
Catalina Offshore Products Inc announces sale to Beish Holdings Inc., DBA Catalina Offshore Products, as founder Dave Rudie sets sail for retirement after 46 years.